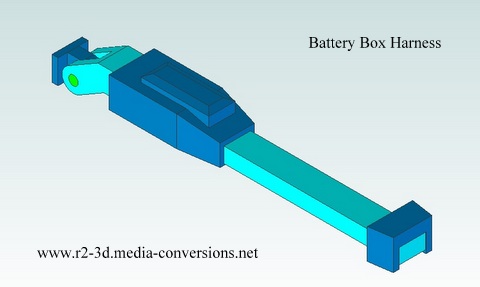
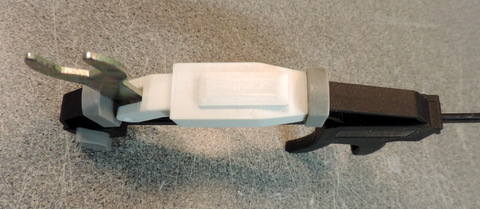
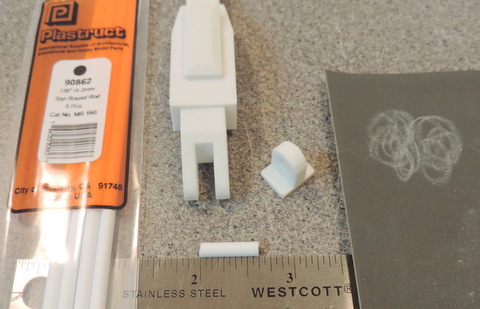
This part actually has 6
components, as noted by the separate colors.
Battery Box Harnesses are only only sold as a finished assembly.
Assembly steps are shown for illustration only.
|
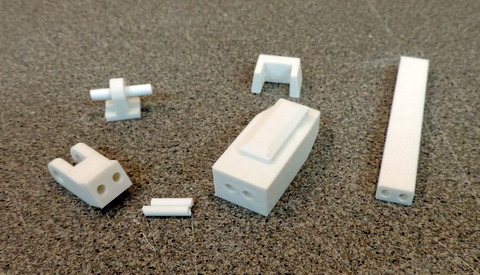 That does not count the pieces of .125 rod (2 of 4 shown) used to hold the parts in alignment during assembly. That does not count the pieces of .125 rod (2 of 4 shown) used to hold the parts in alignment during assembly. | 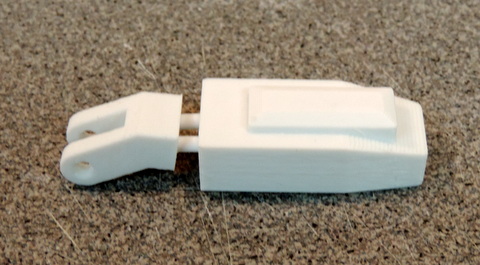
join the swivel part to the body, using two pieces of .125 styrene rod |
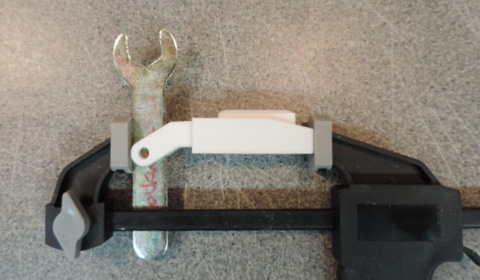
You will need a piece of metal that's deeper than the slot in order to be able to clamp the parts together tightly.
| 
DO NOT USE A PIECE OF STYRENE.
A stray drop of cement can glue it in place!
|
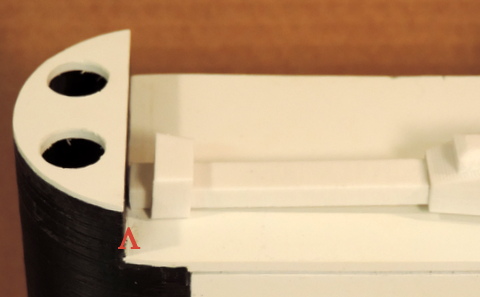
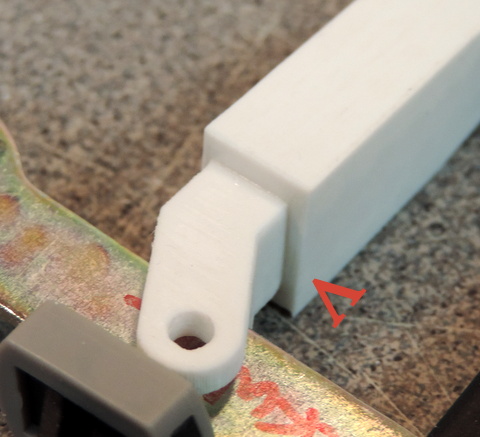 | Left: You need to make sure that the swivel part is in full contact with the body at the edges marked by the V.
above: Repeat the process for the long tail part |
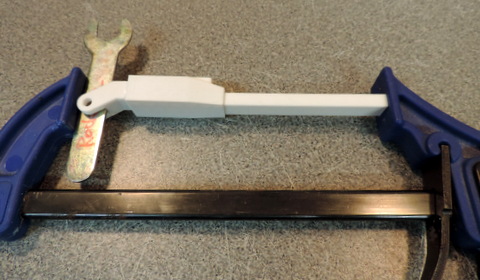 | 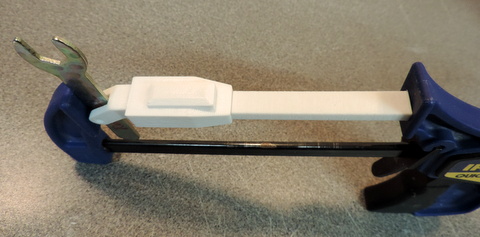
Left and Above: You'll need a long bar clamp to hold the parts together. |
 | Left:
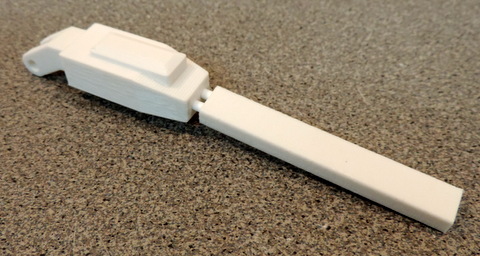
The final step is to cut a piece of the .156 styrene rod that
serves as the shaft of the Swivel. Cut it slightly longer than .5
in and then sand the ends to the correct length. 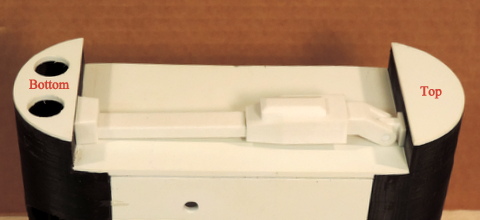
Above: Finished Harness in place. |
 | Left:
You may have noticed, I didn't glue the final part of the Harness onto
the long tail. That's because the harness is slightly shorter than the
opening in the Battery Box (see the gap at the V).
You need to make sure the swivel is tightly against the top edge of the
Battery Box. My suggestion is to use a small amount of Silicon RVT type
of cement in the gap, and at the top, to hold it in place and then
cover the gap by sliding the final piece of the assembly tight against
the bottom of the opening.
|
Battery Box Harnesses are only only sold as a finished assembly
Battery Box Harnesses are sold in sets of 4 - see the Part List
|