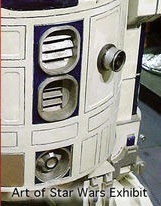
If you joined
the R2BC before 2011, you might think there was only one Restraining
Bolt. This is the CS:L Restraining Bolt.
Click
on the
image to open a 3D .pdf version.
You can download a
model of the CS:L Restraining Bolt from the Astromech 3D
file Droidwiki:
https://astromech.net/droidwiki/Restraining_Bolt
|
 |
On 7/31/2011
Cole Horton Posted the thread "Droid Restraining Bolts - part found!"
which provides some of the details of the search that he and
Chris Reiff conducted to find the source of the
part used in the Movies.
|
 |
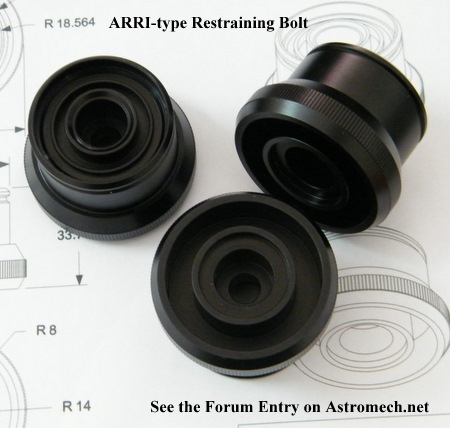
That was
followed by Chris posting the Part
thread "RESTRAINING BOLT Arri-Type" on
5/21/2012
I first became aware of it when Chris made a presentation at DroidCon
II (8/2-8/4 2013) |
|
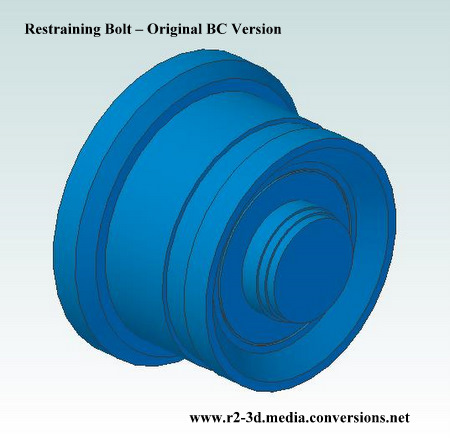
In
addition to the image above, with some dimensions, they also posted
this drawing in the part thread.
For a while I played with the cross section, turning it into an Autocad
drawing and scaling it using the dimensions from the background
artwork. I wasn't happy with the results so I let the project go
dormant.
After reviewing the parts presented on my
3D models page I decided to
update this Arri Bolt page. |
 |
Checking the
R2BC Forums I discovered Sigge's
thread "3D printed Restraining Bolt Arri-style with
STL file". I'm guessing that Sigge
followed the same approach as I did to create his 3D model.
 |
Out of
curiosity I downloaded the .stl file. But
I was disappointed when I discovered that there was no detail on the
underside of the model! That's partly a consequence of it being printed
as one
piece. 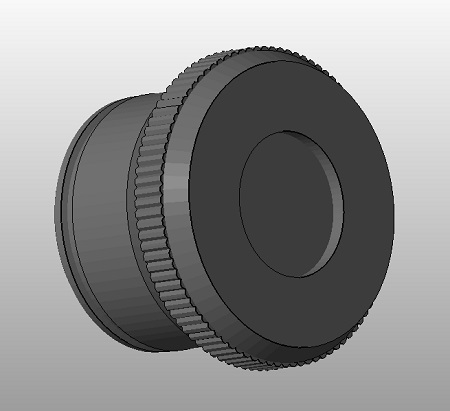
|
As a result,
I decided to revive my work on the 3D model. The second time around I
tried out a piece of software called "Scan2CAD"
It was relatively easy to use and gave good results.
Of course, since I was working from the cross section there is no knurl
on the part!
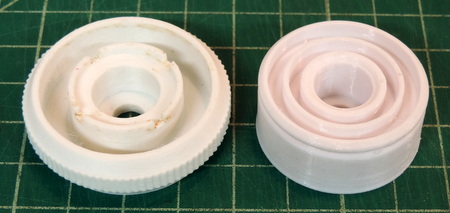
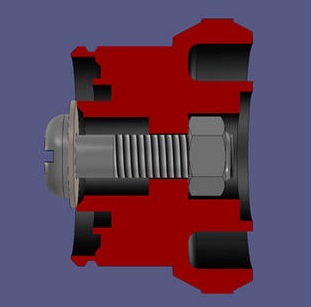
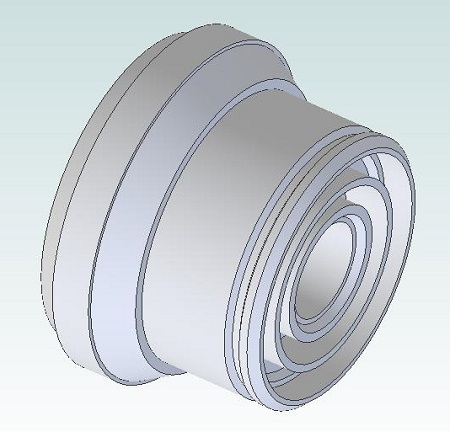
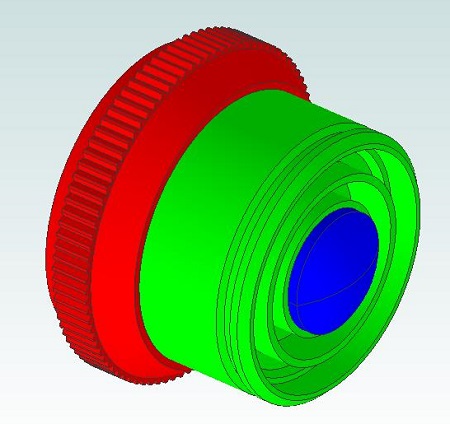
Using
that model as a starting point, I added the missing knurl, and then
made some additional changes. To make it 3D printable I segmented the
full
model (below) into a front half (green) and a rear half
(red). I also
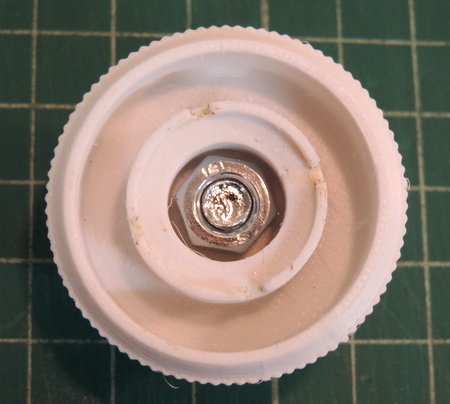
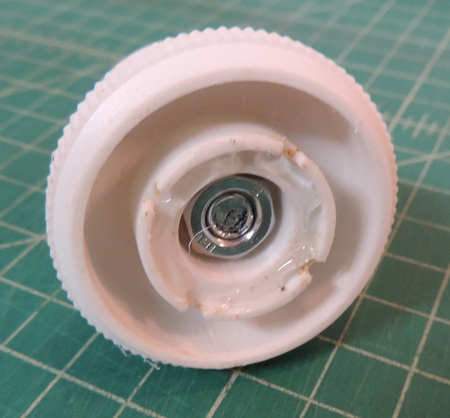
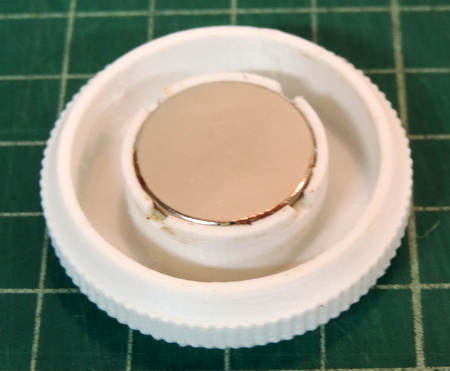
included an M8 Carriage Bolt and mating Nut to the model.
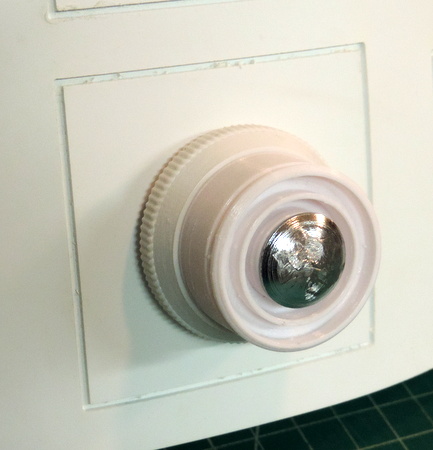
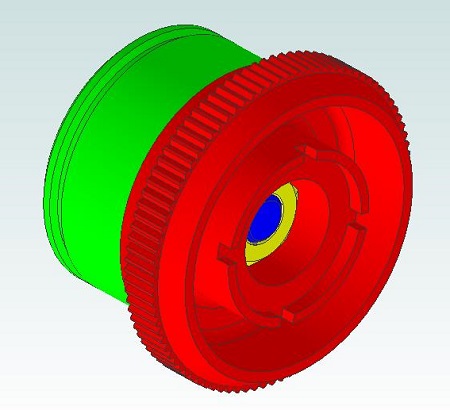
After a discussion with Michael Paul, K&J
Magnetics, Inc.
about the various options for holding the Arri Bolt to a styrene Droid
with a .08 thick skin. I decided to use his suggestion of a
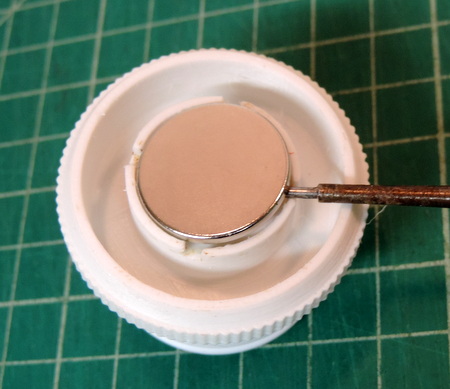
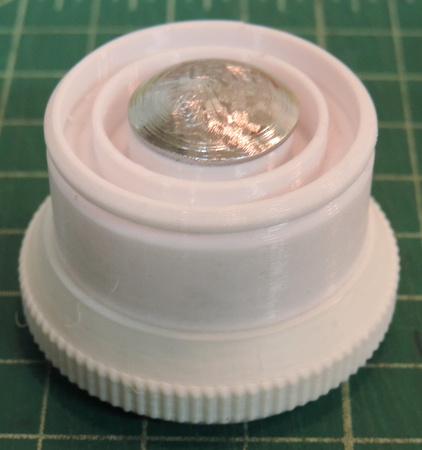
DF03 magnet in the recess at the rear of the bolt and a stronger DF2
magnet behind the skin area where the Bolt is going to be attached. In
order to be able to remove the magnet from the restraining bolt (even
after it's glued in!) I added 4 slots to the recess which was enlarged
slightly to fit the DF03 magnet. |
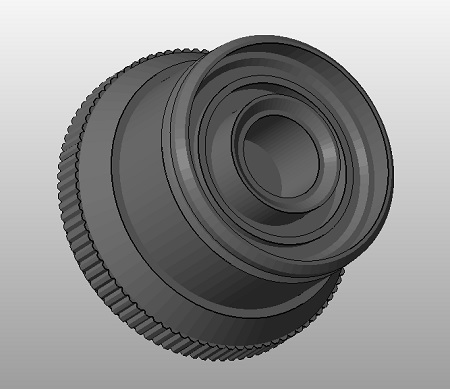
 |
Click
on the
image to open a 3D .pdf version. |
|