Care & Finishing of

3D Printed Parts

The 3D printed parts that I am providing are all printed in ABS, otherwise known as Styrene. It behaves in a manner that is very similar to the HIPS (High ImPact Styrene) sheet material that I cut my CNC parts packages from. (see the WikiPedia article for more information). The primary difference is that I have discovered is that ABS dissolves in Acetone alone as well as Methelyene Chloride based solvents while HIPS only dissolves in a  Methylene Chloride based solvent (typically Weldon #3). Otherwise, as noted below, you can finish the two materials the same way.

Infill
Printed parts are rarely SOLID! In 3D Printing this is called "infill". I typically use a 20% infill so the parts, internally anyway, are 80% air. This makes them light, reducing your droid's overall weight and making the parts cheaper to ship. See typical part weights in my Parts List Table. Parts that are used where strength is a requirement are typically made with higher levels of infill, 80 to 90% would be typical.

This is a set of Utility Arms Being Printed. There's enough plastic on all of the outside surfaces to allow for the typical amount of priming/filling/sanding/painting process used with your other styrene parts.

Things to be concerned about:
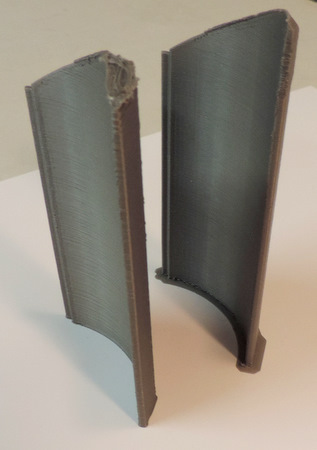
When clamping parts take care as a C clamp can easily exert enough pressure on one point to crush a part.

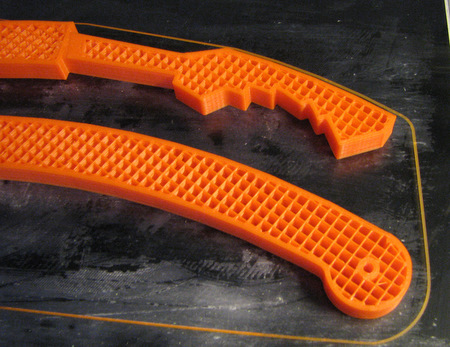
The Pivot hole is sized for a 1/4 inch shaft. While you can drill it out for a large size, say 3/8, that would expose the fill lattice and weaken the part. If you want to use a larger size shaft, ask for a custom version (there's no charge for the customization!)

Brim
Sometimes parts have a very small surface area contacting the print bed. This can cause the parts to come detached easily during the printing process, ruining the print. To deal with that circumstance the printing software can add an extension to the first layer of the print. This is called Brim.

Above are end and side views of the same part with and without brim.

What you can't see in the views above, but is obvious from the photo to the left, is that the part without brim became detached before the print completed.


Brim is easy to remove. Just use a sharp knife, or other tool of your choice, and follow the part contour. If I have to use Brim on a part it will be on the end that is typically hidden.

Squish

Related to Brim, and similar in context, is Squish. Printed parts are printed on a glass bed. Glass is chosen for flatness, other materials have also been used. For ABS parts the print bed is also heated to reduce the thermal stress of going from the ~230 degrees C print temperature to ~20 degree room temp. To enable parts to stick to the print bed more reliably the first layer is typically printed 110% to 125% thicker. The result is that the excess material forms a small ridge around the edge of the part. In effect it's a miniature "brim".

Finishing
There are a number of excellent forum postings on finishing 3D printed parts.
Until I develop more expertise of my own on the topic I'm going to defer to those:
Forum: Paint, Weathering and Finishes - http://astromech.net/forums/forumdisplay.php?f=34
Thread: Painting 3d printed parts - http://astromech.net/forums/showthread.php?t=15770

Home